Blog →
Shared mailbox rules: how to set them up (and what to use instead of Outlook)

Blog →

by
Ludovic Armand
December 15, 2022
· Updated on
April 17, 2026
If your team handles a shared inbox like support@ or sales@, rules are how you stop every message from hitting every person. They route emails to folders, assign them to the right teammate, send auto-replies, flag VIPs — all the small bits of automation that keep a team inbox from becoming a pile of chaos.
Microsoft Outlook has had shared mailbox rules for years. They work, mostly, but they’re limited and not particularly pleasant to set up. This guide covers how to create them in Outlook, the common problems teams run into, and what a modern alternative looks like.
To create rules on a shared mailbox in Outlook, you need Full Access permission to the mailbox and the ability to open it directly.
If you don’t already have a shared mailbox, follow Microsoft’s instructions to create one first.
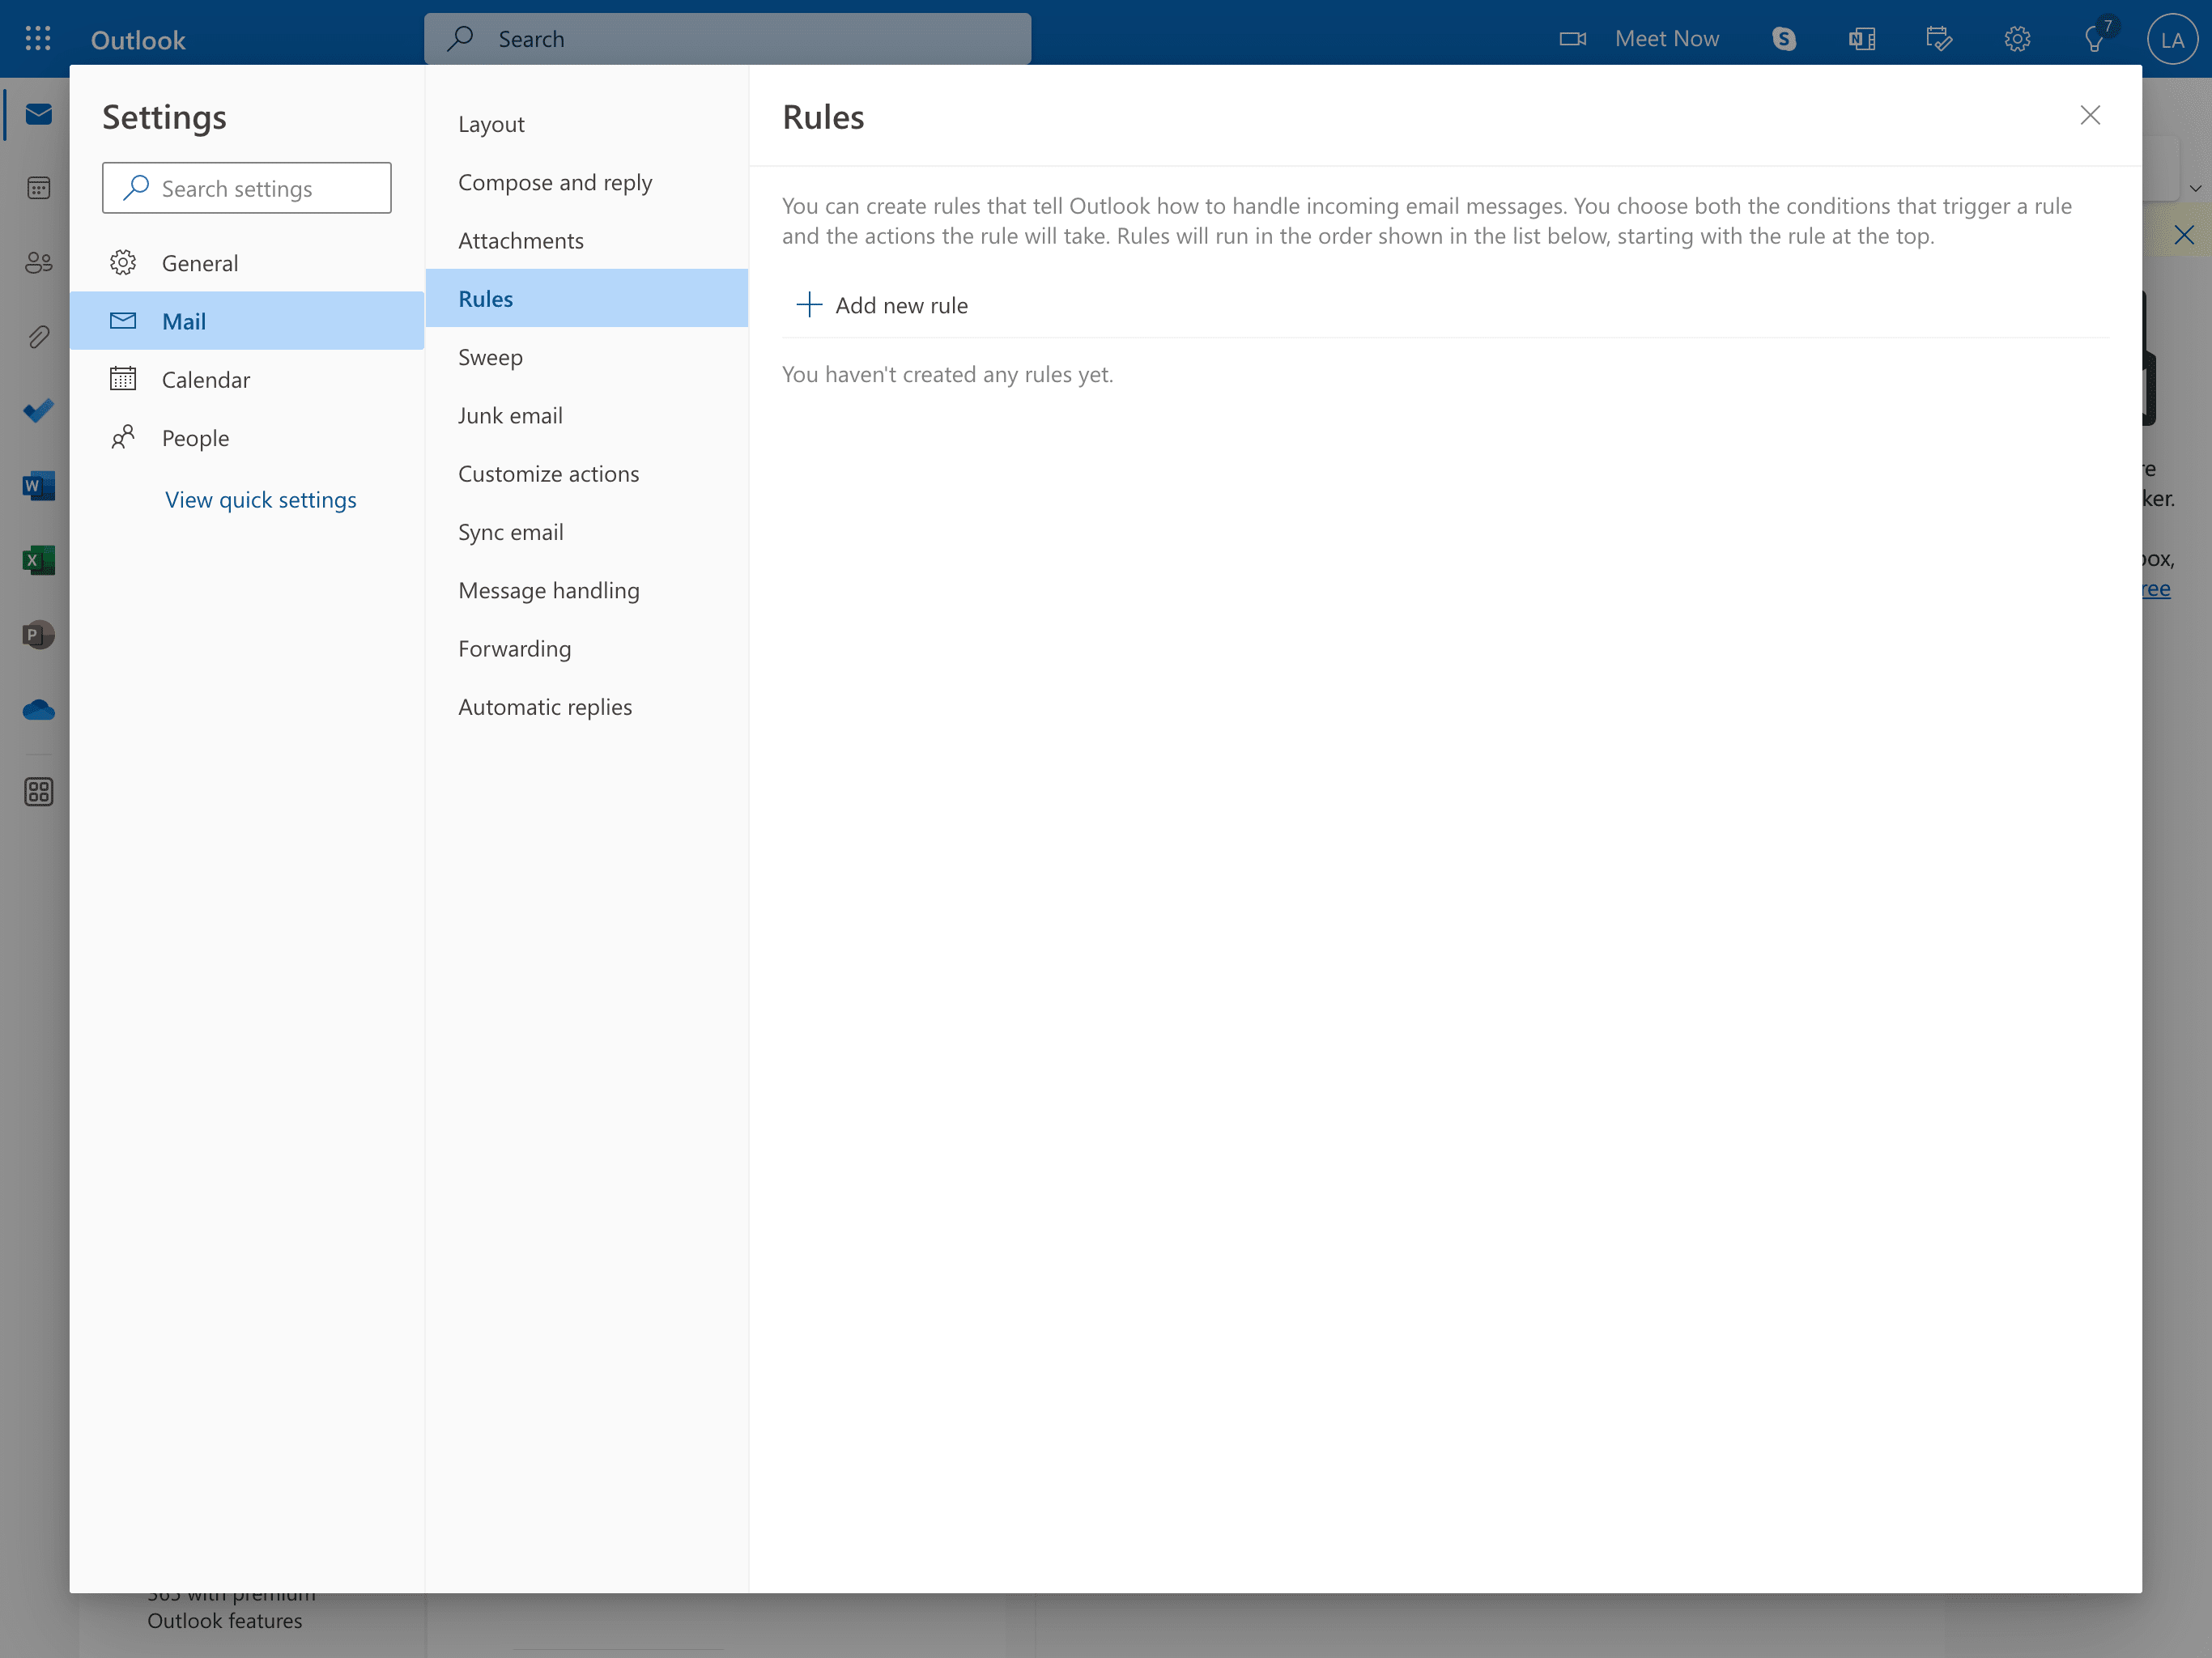
Individual Outlook rules can be exported and shared between users in the same organization. Rules created on a shared mailbox itself are already shared — any team member with Full Access can view, edit, or delete them.
Here are the rules most teams actually need.
Useful for support inboxes where you want customers to know their message was received.
Useful when a shared alias receives a lot of noise you want out of the main queue — like automated notifications, newsletter subscriptions, or high-volume request types.
Most inboxes get hit with cold outreach. You can build a rule to catch the worst offenders automatically:
Outlook’s built-in spam filter catches a lot, but custom rules help with the outreach that slips through.
Outlook rules work, but anyone who’s run them for a while will recognize these issues:
For small teams doing light automation, these limits are fine. For growing teams — especially any team that wants email assigned to specific people, routed by workload, or categorized by meaning — Outlook rules run out of room fast.
This is where most teams start looking at a proper shared inbox tool.
Missive is a collaborative email client built for teams. Instead of a shared Outlook mailbox where everyone sees the same folder, Missive gives you a real team workspace on top of your existing email: shared inboxes for addresses like support@ or sales@, internal chat on every conversation, assignments, shared drafts, and rules that go far beyond filing and forwarding.
It works with Gmail, Outlook, Microsoft 365, and custom IMAP. Your email stays where it is — Missive just makes it workable for a team.
And it treats SMS, WhatsApp, Instagram DM, Messenger, and live chat as first-class channels alongside email, so all of it runs through the same rules engine.
A Missive rule has three parts:
Here’s the simplest possible rule:
| Component | Value |
| Rule type | Incoming email |
| Condition | From ends with “acme.com” |
| Action | Add label(s) → “Acme” |
Every email from acme.com gets labeled Acme automatically. No admin required, no permission dance.
The jump from Outlook becomes obvious when you look at what Missive rules can actually do.
Outlook rules run on Outlook email. Missive rules run on email, SMS, WhatsApp, Instagram, Messenger, and live chat. The same routing logic you use for your support@ address can apply to SMS coming in from a customer or a DM on Instagram.
The Missive action list includes things Outlook doesn’t have a concept of: assign to user, assign to team, move to team inbox, close conversation, snooze, add note, send webhook. This is the layer that turns a shared mailbox from a shared folder into actual teamwork.
Not just incoming messages. You can build rules that fire when someone adds a label, assigns a conversation, closes a thread, or posts a comment. For example: when someone labels an email “Receipt,” the conversation gets forwarded to your accounting address automatically.
This is the biggest modern difference. Missive’s AI rules let you ask the AI a question about an incoming message and fire actions based on the answer. Instead of matching on the word “refund” in the subject line, you can ask: “Is this customer asking for a refund?” and act on a yes/no.
More on that below.
Here’s a set of rules worth setting up in any shared inbox. Most of these aren’t possible — or aren’t clean to build — in Outlook.
Useful when multiple people send cold outreach or sales emails from a shared sales@ address. When the recipient replies, it goes straight to the person who originally wrote the message.
| Component | Value |
| Rule type | Outgoing message |
| Condition | Email account is sales@company.com |
| Action | Assign sender |
Distribute incoming conversations evenly. If your team has three support agents, each new message rotates to the next person in order. Anyone marked out of office gets skipped automatically.
| Component | Value |
| Rule type | Incoming email |
| Condition | Email account is support@company.com |
| Action | Assign user(s) → select teammates, choose Round-robin |

You can also choose Least busy first if you want to balance by current workload instead of strict rotation. That one assigns to whoever has the fewest open conversations at that moment — good for teams where volume spikes unevenly.
When a high-priority customer writes in, everyone on the team sees a warning note on the conversation.
| Component | Value |
| Rule type | Incoming email |
| Condition | From is in contact group “VIP” |
| Action | Add note → “Priority customer. Escalate within 1 hour if unresolved.” |
Notes are internal — only the team sees them, never the customer.
Notify a manager when a support email hasn’t been answered within a target response time.
| Component | Value |
| Rule type | Incoming email |
| Condition | No reply sent for 4 hours during business hours |
| Action | Add note → “@manager SLA breach — needs attention” |

For agencies, accounting firms, or any business with dedicated accounts per client: route everything from a given client domain straight into that client’s team inbox, so only the assigned team sees it.
| Component | Value |
| Rule type | Incoming email |
| Condition | From ends with “bigclient.com” |
| Action | Move to team inbox → “Big Client” |
This replaces the Outlook pattern of “dump everything in a folder” with actual team ownership. Accounting firms and agencies use this heavily — every client domain gets its own routed inbox with the right contractors assigned.
When anyone on the team labels an email “Receipt,” it’s automatically forwarded to the accounting system.
| Component | Value |
| Rule type | User actions → Label change |
| Condition | Added label is “Receipt” |
| Action | Forward to → accounting@company.com |
This is the kind of rule Outlook can’t build — triggered by a user action rather than an incoming message.
Most email rules match on keywords. That works until it doesn’t — because customers don’t write the way rule-builders hope they will. Someone asking for a refund might write “can I get my money back,” “this didn’t work, please cancel,” or “I want out.” No keyword rule catches all three.
Missive’s AI rules solve this by letting the AI read the message and answer a question about it. You write a simple prompt, pick what to do with a yes or no, and the rule fires based on meaning instead of exact text.
| Component | Value |
| Rule type | Incoming email |
| Condition | Email account is support@company.com |
| Action | Add labels with AI → “Categorize: Billing, Technical, Sales, Feedback, Spam” |

One rule, five categories, zero manual triage. Pair it with a second rule that routes each label to a team (billing → finance team, technical → engineering support, etc.) and you’ve replaced the entire human triage step.
| Component | Value |
| Rule type | Incoming email |
| Condition | Prompt → “Is this customer upset or frustrated? Respond with YES or NO.” → response is YES |
| Action | Add label → “Escalate” + Assign user → senior agent |
| Component | Value |
| Rule type | Incoming email |
| Condition | Added label is “Billing” |
| Action | Create draft with AI → “Draft a response answering their billing question, reference their account history.” |

The draft waits for a human to review and send. You get the speed of automation without losing the review step.
AI rules bring your own API key from OpenAI, Anthropic, or Google. Missive doesn’t mark up the cost — you pay the provider directly, usually pennies per rule run.
One pattern worth flagging: most teams set up their rules once, early on, and never touch them again. The rules keep working, the team keeps growing, and features that ship in the years after don’t get adopted because nobody goes back to the rule list.
If you’re running shared mailbox rules in Outlook today, it’s worth asking: what would actually change if you could also assign emails to specific people, route by content rather than sender, get notified when an SLA breaks, or have AI triage the support queue before a human touches it?
If the answer is “a lot,” the tool is the limit — not the team.
A rough mapping between what Outlook rules do and how Missive handles the same jobs:
| Outlook rule | Missive equivalent |
| Move message to folder | Add label, or move to team inbox |
| Forward to address | Forward to (same) |
| Auto-reply | Send canned response, or create draft with AI |
| Flag message | Add label, assign, or add note |
| Delete spam | Archive or close conversation |
| (not available) | Assign to user, round-robin, least-busy distribution |
| (not available) | Trigger rules on user actions like labeling or assigning |
| (not available) | AI prompt conditions and AI actions |
| (not available) | Rules across SMS, WhatsApp, Instagram, live chat |
Missive is free for up to 3 users, so small teams can try the full rules engine without paying anything. Paid plans start at $18/user/month and include every feature — AI rules included.
Missive’s rules documentation covers every condition and action available, and there are ready-made templates to copy if you want a faster start.
Missive is a collaborative email client with shared inboxes, internal chat, live drafting, and a rules engine that works across email, SMS, WhatsApp, Instagram, Messenger, and live chat. Free for up to 3 users — try it free.

October 26, 2023
The 12 Best Help Desk Software for Small Business
Simplify your customer support and boost your small business productivity with the best help desk software.

April 26, 2023
WhatsApp shared inbox: how teams handle WhatsApp messages together
WhatsApp is the world’s most-used messaging app, but its business tools aren’t built for teams. Here’s how a WhatsApp shared inbox works, why most companies need one, and how to set it up with Missive.

December 19, 2023
8 best Zendesk alternatives and competitors for 2026
Zendesk’s real price starts at $55 per agent, not $19. Here are the 8 best Zendesk competitors and alternatives for 2026, with verified pricing for each.

June 12, 2020
How to reduce your response time?
When dealing with customers, doing it fast is almost always better. People expect to receive a diligent and...

October 27, 2022
Email thread: what it is, how to use it, and why it breaks at scale
An email thread keeps a conversation together in one place, but they quickly become unwieldy when teams collaborate. Here’s how email threads work, how to manage them, and what to do when they stop working.

November 14, 2023
B2B customer service: what makes it different and how to do it well
B2B customer service isn’t just B2C with longer contracts. The relationships are deeper, the stakes are bigger, and the support operation looks nothing like a retail helpdesk. Here’s what makes it different and what good looks like.

November 20, 2020
Take your contact book to the next level
How to use Missive's contact groups and contact-based rules to automate VIP handling, language routing, team assignments, and spam filtering across email, SMS, WhatsApp, and more.

February 23, 2024
How to avoid emails going to spam
Emails end up in spam for four main reasons: list management, content, DNS authentication, and reputation monitoring. Here’s how to fix each one and improve your deliverability.

May 26, 2023
9 Tips & Examples to Write Effective Customer Service Emails
Write effective customer service emails with these tips & examples. Find out how to create a positive...
